The Tribal Allotments
You will need Google Earth to do this activity (download it free).
(b) Un-check all boxes in the Layers panel (1). You may wish to minimize the layers panel (2). Click to un-check “All Bible Places” in Places panel (3). Click on plus mark next to “All Bible Places (Chapters)” (3).

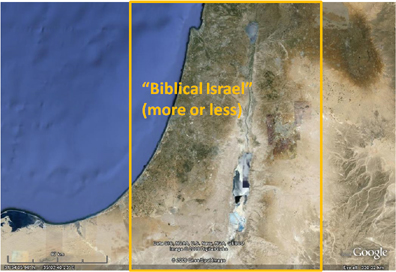
(c) Click plus next to “All Bible Places (Chapters)” (3 above) and the plus next to Joshua. Next, adjust altitude so that biblical Israel basically fills the screen (see illustration below). Orient the map using the mouse: point and click to move map, scrolling wheel adjusts altitude. Alternatively, use the tools in the upper right part of the screen (4 above).

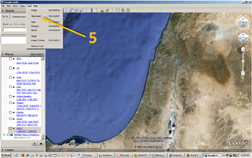
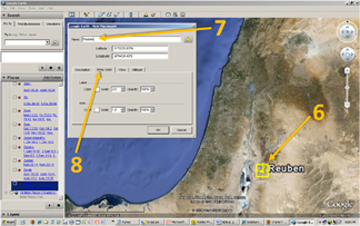
(d) Read Joshua 13:15-23 describing the allotted territory of the tribe of Reuben. Each time you come to a location or village name put a check mark by it in the list of Joshua 13 (Google Earth). After you enter all of the check marks study the map to get a sense of the tribal territory. Finally, insert a pushpin somewhere about in the middle of Reuben’s territory: (5) Click the “Add” drop-down menu on the toolbar and click “Placemark”; (6) then, move the pushpin to the correct place; (7) type “Reuben” into the pop-up menu; and (8) make the font bigger in the “Style, Color” tab.
 |  |
(e) Un-check the Reuben locations. Then follow the
same procedure for each of the other tribes, using the following references: Gad
(13:24-28), Manasseh (transjordan half) (13:29-31), Judah (15:1-12), Ephraim
(16:5-10), Manasseh (half) (17:7-12), Benjamin (18:11-20), Simeon (19:1-9), Zebulun
(19:10-16), Issachar (19:17-23), Asher (19:24-31), Naphtali (19:32-39), Dan
(19:40-48).
(f) If you wish to save your work, click “Edit” drop-down menu on the upper toolbar, and click “Copy Image.” Next, open an image editing program and paste the image (like Pp).

Copyright © 2009 ScriptureWorkshop.com
Return to The Biblical Geography Workshop